Circulation Receipts
The Receipts/Refund Notification sub-tab lets you customize receipts that print during checkout. And you can choose to notify a particular person when refunds are generated.
You can customize the receipts, whether you print an 8" × 11" receipt to a local or network printer, or a 3" receipt to a Follett Infigo or Follett Transaction Tracker.
After a transaction, print receipts from Check Out and Check Out Items by clicking Receipt, or from Fines by selecting the Print Receipt checkbox. Receipts printed from Check Out or Check Out Items contain more information than defined on the Receipts/Refund Notification sub-tab.
|
Notes:
|
To set up circulation receipts:
- Select Admin > Site Configuration > Receipts/Refund Notification sub-tab.
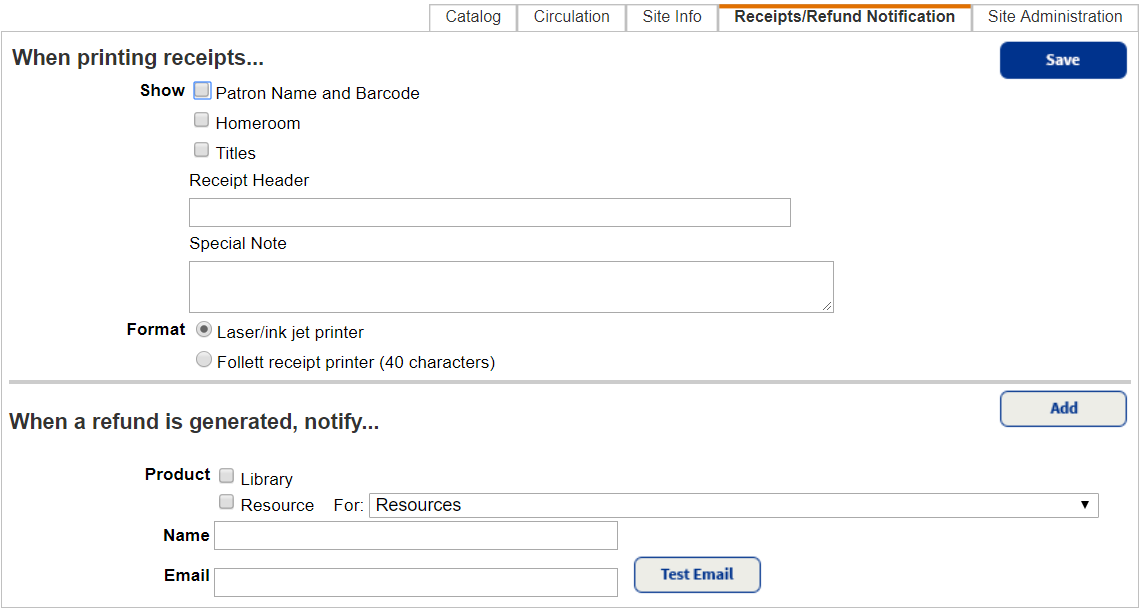
- From the Show field, choose one or more options to appear on the receipt.
- Type a Receipt Header that will appear at the top of the printed receipt (max of 38 characters).
- Type a Special Note that will appear at the bottom of the printed receipt (max of 256 characters).
- Select a Format:
- Laser/ink jet printer to print an 8" × 11" receipt to a local or network printer.
- Follett receipt printer (40 characters) to print a 3" receipt to a Follett receipt printer.
Important: If you are printing to a Follett Infigo or a Follett Transaction Tracker, only the first 40 characters of a title appear.
To set up refund notifications:
|
Notes:
|
- In the When a refund is generated, notify... section, select the Destiny Product the receipt reflects.
- If you chose Resource, use the For drop-down to select the specific resource type the person manages.
- Type the name of the person who will receive the notification in the Name field.
- Type the email of the person who will receive the notification in the Email field.
- To verify the email, click Test Email.
- When you are done, click Add.
The new refund notification appears in the Currently configured email... section.